UPDATED: September 2026NEWS
How to Securely Fix a Garden Arch into the Ground
We’re often asked how to securely fix a garden arch in place. The best method depends on the type of arch and where it is being installed, so we’ve put together this guide to the different options.
Whether you’re installing a timber or metal arch in soft ground, or fixing one to a hard surface such as a patio or paving, we’ll explain the most suitable methods and what to consider when choosing how to secure it.
On This Page:
Installing Timber Arches
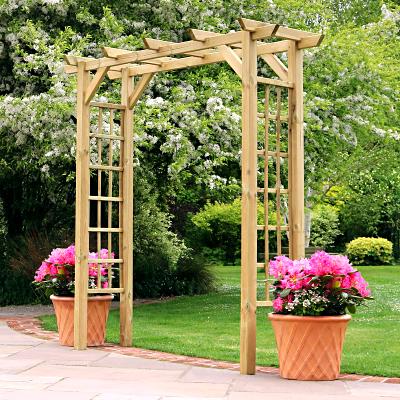
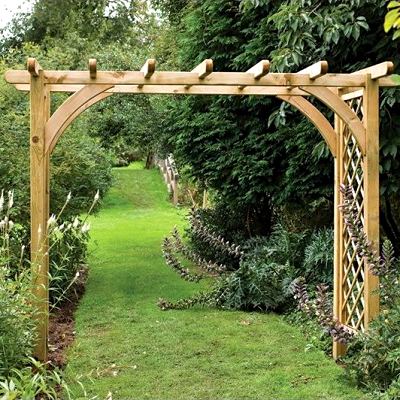
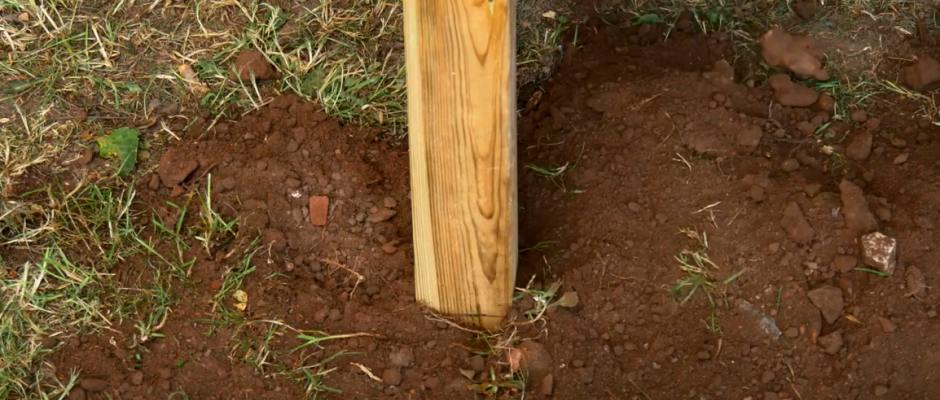
Soft GroundIf you’re installing a timber arch in soft ground, heavier wooden arches should be securely fixed using a quick-setting fence-post concrete such as Metcrete or Postcrete, available from most DIY stores.
Each arch leg should be secured in the ground to a depth of around 30cm (12"), or as specified in the manufacturer's instructions. Most garden arches are designed with this sort of depth in mind, so you shouldn't lose too much height from the arch.
1. Use Treated Timber
If the arch legs are going into the ground, make sure the timber is pressure-treated or naturally resistant to rot. Most timber garden arches are supplied with pre-treated timber.
2. Choose Your Location
Make sure the ground is reasonably level
Check for underground utilities before digging
Consider how exposed the location is to wind
If the arch is being installed in an exposed or particularly windy location, consider the weight and construction of the arch before choosing your fixing method. Heavier, more substantial timber arches are generally better suited to exposed positions, while lightweight arches may require additional support or a more substantial fixing method.
Avoid positioning a lightweight arch where it is likely to be subjected to strong or persistent winds, particularly if it has a large, open trellis or roofed area that could catch the wind.
3. Dig the Holes
Dig a hole for each leg around 30-40cm deep, or to the depth specified by the manufacturer.
The diameter of each hole should be around 2–3 times the width of the arch leg, leaving enough space for the concrete around the post.
4. Add a Layer of Gravel
Place around 2cm of pea gravel in the bottom of each hole to provide a drainage layer.
5. Add Water
Pour clean water into the hole to around halfway up its depth, or the recommended amount following the instructions for the concrete you are using.
6. Position the Arch Leg
Have someone hold the arch upright while you position the legs. Check that the arch is level from side to side and correctly aligned from front to back.
7. Pour Concrete
Use a rapid-set or post-mix concrete suitable for outdoor posts.
Pour the concrete evenly around the arch leg, following the manufacturer's instructions. Don't fill the hole completely to the top; leave a few centimetres so that you can cover the concrete with soil once it has set.
Be careful not to breathe in the concrete dust.
8. Check and Adjust
Before the concrete starts to set, check that each leg is perfectly vertical and that the arch is correctly aligned.
Work quickly, as rapid-setting concrete can begin to set within minutes.
9. Allow Curing
Allow the concrete to cure according to the manufacturer's instructions before putting any weight or tension on the arch.
Watch the InstallationBlue Circle have produced a handy 2 minute video that runs through the process of using their concrete for fixing fence posts:
Timber Arches on Hard Ground
If you're installing a timber arch on a hard surface such as a concrete pathway or patio, you'll need suitable metal fixing brackets to secure the arch in place.
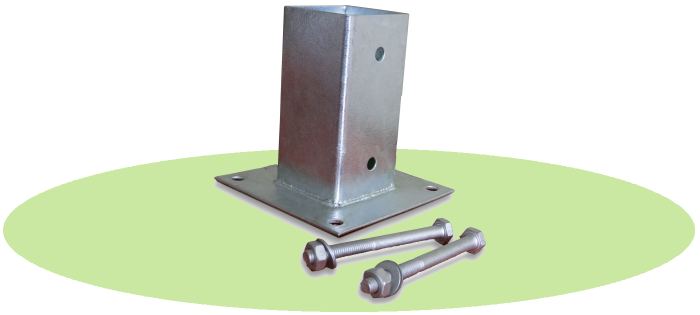
Some retailers offer suitable fixing brackets as an optional extra. Alternatively, you should be able to find suitable supports at a well-stocked DIY store. Look for steel fence-post supports that are suitable for the size and shape of your arch legs.
Using Ground Spikes
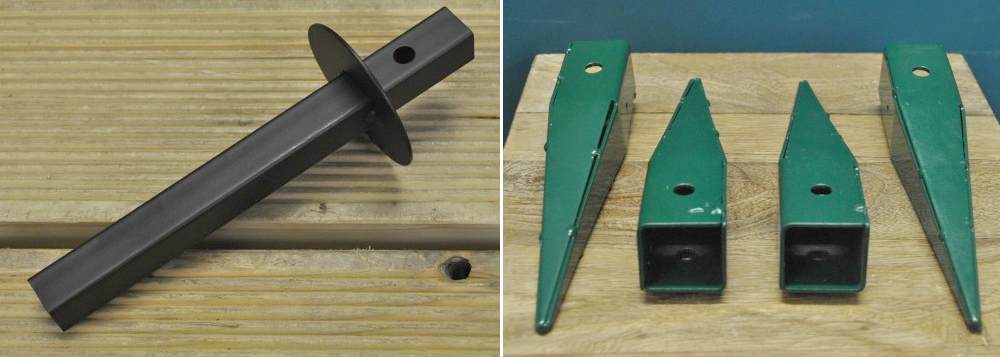
Ground spikes are an easy fixing method for lighter-weight wooden or metal arches, although not necessarily suitable for large or heavily exposed arches.
The arch leg simply slots into the spike, which is then driven into the ground to a depth of around 20cm (8"). Make sure you measure the width or diameter of the arch leg before buying the spike so that you get the correct size.
If you cannot find a suitable spike for your arch, another option is to use a length of sturdy metal tubing with the appropriate shape and internal diameter. The arch legs can be fixed into the tubing, effectively extending the depth of the legs and providing a secure anchor in the ground.
Installing Metal Arches
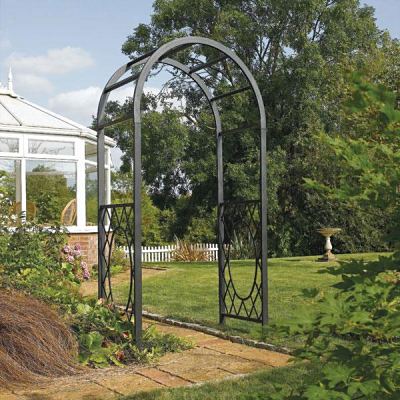
METAL arches are usually able to be sunk into soft ground to a depth of about 30-40cm (12-14") - check with the instructions. If the soil is a little firm then water it first or use a spike or pole to make a pilot hole first.
If you are worried about high winds buffeting the arch, then you can concrete the legs into the ground as per wooden arches above, or use suitable ground spikes if available.
Planters
AN ALTERNATIVE method of securing an arch is to obtain two planter boxes (in a matching style to your arch) and fix them to the arch, one either side, fill them with soil and plant your favourite flowers.
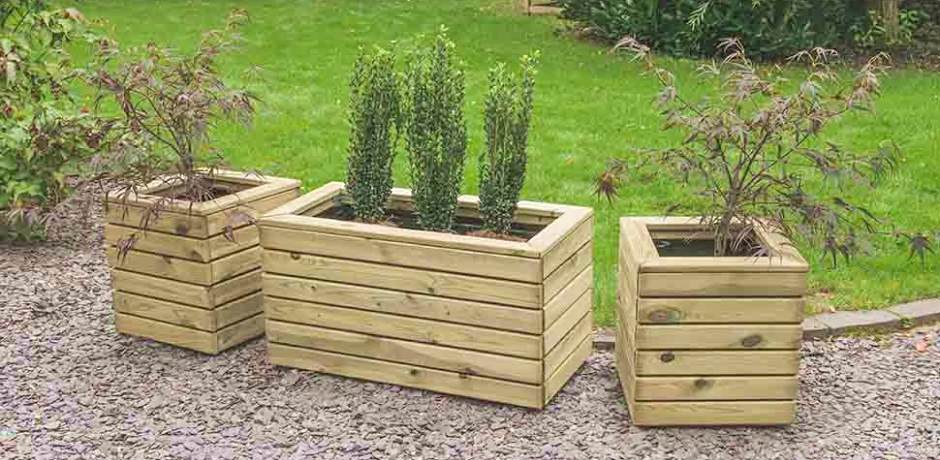
As well as providing an attractive addition when the flowers are in bloom, the weight of the planters and soil will keep the arch rock steady.
Garden Arbours
UNLIKE ARCHES which have longer legs, some arbours, particularly metal ones are designed to be freestanding. You can secure them to hard surfaces with brackets as per wooden arches, or in soft ground you will need to screw a timber stake (about 30cm tall) to each leg, and then sink the whole stake into the ground. The arbour legs will rest on the surface.
WHAT'S NEW: Sep 2026
SCROLL FOR MORE